SlidingPaneLayout in Sketchware
Here is a simple example of SlidingPaneLayout in Sketchware. Follow the steps below.

1. Create a new project. Switch on AppCompat and Design.
2. In main.xml add a LinearV linear1, and set padding to 0.
3. Create a Custom View right_pane.xml. Here add two TextViews textview1 and textview2.

4. Add a ListMap maplist, a Map map, and four More Blocks extra, createList, fragmentOne, fragmentTwo.

5. In More Block extra, declare static variables pane, one, two, title_list, and description_list. Also define a static void method setTexts(String, String).
}
public static androidx.slidingpanelayout.widget.SlidingPaneLayout pane;
public static FragmentOne one;
public static FragmentTwo two;
public static ArrayList<String> title_list = new ArrayList<>();
public static ArrayList<String> description_list = new ArrayList<>();
public static void setTexts(String a, String b){
two.updateTexts(a, b);
}
{
The method updateTexts(String, String) used here is a method defined in FragmentTwo class.
6. In More Block createList, add items to maplist using keys 'title' and 'value'.


7. In onCreate, first use block createList, then use following codes:

// Define SlidingPaneLayout, set it's I'd, and add it to linear1.
pane = new androidx.slidingpanelayout.widget.SlidingPaneLayout(MainActivity.this);
pane.setId(123);
linear1.addView(pane);
// Define FragmentOne and FragmentTwo, and commit FragmentTransaction.
one = new FragmentOne();
two = new FragmentTwo();
androidx.fragment.app.FragmentTransaction ft = getSupportFragmentManager().beginTransaction();
ft.add(123, one, "fragmentone");
ft.add(123, two, "fragmenttwo");
ft.commit();
// Add data from maplist to title_list and description_list:
title_list.clear();
description_list.clear();
for (int i = 0; i < maplist.size(); i++){
title_list.add(maplist.get(i).get("title").toString());
description_list.add(maplist.get(i).get("value").toString());
}
8. In More Block FragmentOne, put following codes:
}
public static class FragmentOne extends androidx.fragment.app.Fragment {
@Override
public View onCreateView(LayoutInflater inflater, ViewGroup container, Bundle savedInstanceState) {
// Create ListView, set it's adapter, and set OnClickListener for it.
ListView listview1 =new ListView(getActivity());
ArrayAdapter<String> adapter = new ArrayAdapter<String>(getActivity(), android.R.layout.simple_list_item_1, title_list);
listview1.setAdapter(adapter);
listview1.setLayoutParams(new ListView.LayoutParams(500, ListView.LayoutParams.MATCH_PARENT));
listview1.setOnItemClickListener(new AdapterView.OnItemClickListener() {
@Override
public void onItemClick(AdapterView<?> parent, View view, int position, long id) {
MainActivity.setTexts(title_list.get(position) , description_list.get(position));
}
});
return listview1;
}
}
{
9. In More Block FragmentTwo, put following codes:
}
public static class FragmentTwo extends androidx.fragment.app.Fragment {
TextView textview1;
TextView textview2;
@Override
public View onCreateView(LayoutInflater inflater, ViewGroup container, Bundle savedInstanceState) {
View view = inflater.inflate(R.layout.right_pane, container, false);
textview1 = view.findViewById(R.id.textview1);
textview2 = view.findViewById(R.id.textview2);
textview1.setText("");
textview2.setText("Slide Right -->");
return view;
}
public void updateTexts(String title, String description) {
textview1.setText(title);
textview2.setText(description);
}
}
{
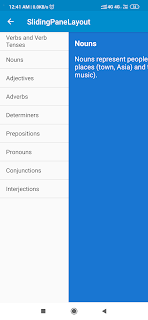
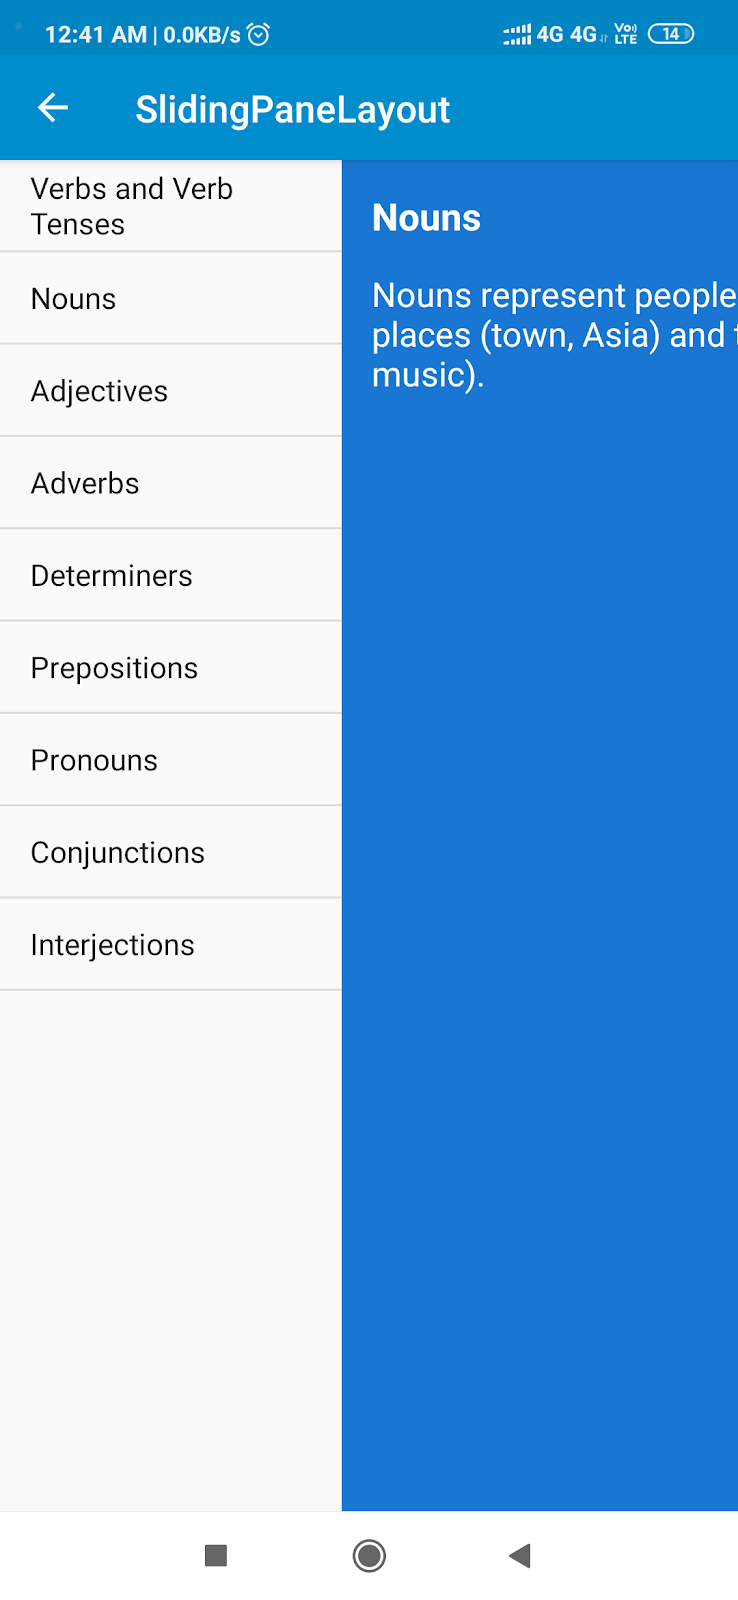
10. Save and run the project.

1. Create a new project. Switch on AppCompat and Design.
2. In main.xml add a LinearV linear1, and set padding to 0.
3. Create a Custom View right_pane.xml. Here add two TextViews textview1 and textview2.

4. Add a ListMap maplist, a Map map, and four More Blocks extra, createList, fragmentOne, fragmentTwo.

5. In More Block extra, declare static variables pane, one, two, title_list, and description_list. Also define a static void method setTexts(String, String).
}
public static androidx.slidingpanelayout.widget.SlidingPaneLayout pane;
public static FragmentOne one;
public static FragmentTwo two;
public static ArrayList<String> title_list = new ArrayList<>();
public static ArrayList<String> description_list = new ArrayList<>();
public static void setTexts(String a, String b){
two.updateTexts(a, b);
}
{
The method updateTexts(String, String) used here is a method defined in FragmentTwo class.
6. In More Block createList, add items to maplist using keys 'title' and 'value'.


7. In onCreate, first use block createList, then use following codes:

// Define SlidingPaneLayout, set it's I'd, and add it to linear1.
pane = new androidx.slidingpanelayout.widget.SlidingPaneLayout(MainActivity.this);
pane.setId(123);
linear1.addView(pane);
// Define FragmentOne and FragmentTwo, and commit FragmentTransaction.
one = new FragmentOne();
two = new FragmentTwo();
androidx.fragment.app.FragmentTransaction ft = getSupportFragmentManager().beginTransaction();
ft.add(123, one, "fragmentone");
ft.add(123, two, "fragmenttwo");
ft.commit();
// Add data from maplist to title_list and description_list:
title_list.clear();
description_list.clear();
for (int i = 0; i < maplist.size(); i++){
title_list.add(maplist.get(i).get("title").toString());
description_list.add(maplist.get(i).get("value").toString());
}
8. In More Block FragmentOne, put following codes:
}
public static class FragmentOne extends androidx.fragment.app.Fragment {
@Override
public View onCreateView(LayoutInflater inflater, ViewGroup container, Bundle savedInstanceState) {
// Create ListView, set it's adapter, and set OnClickListener for it.
ListView listview1 =new ListView(getActivity());
ArrayAdapter<String> adapter = new ArrayAdapter<String>(getActivity(), android.R.layout.simple_list_item_1, title_list);
listview1.setAdapter(adapter);
listview1.setLayoutParams(new ListView.LayoutParams(500, ListView.LayoutParams.MATCH_PARENT));
listview1.setOnItemClickListener(new AdapterView.OnItemClickListener() {
@Override
public void onItemClick(AdapterView<?> parent, View view, int position, long id) {
MainActivity.setTexts(title_list.get(position) , description_list.get(position));
}
});
return listview1;
}
}
{
9. In More Block FragmentTwo, put following codes:
}
public static class FragmentTwo extends androidx.fragment.app.Fragment {
TextView textview1;
TextView textview2;
@Override
public View onCreateView(LayoutInflater inflater, ViewGroup container, Bundle savedInstanceState) {
View view = inflater.inflate(R.layout.right_pane, container, false);
textview1 = view.findViewById(R.id.textview1);
textview2 = view.findViewById(R.id.textview2);
textview1.setText("");
textview2.setText("Slide Right -->");
return view;
}
public void updateTexts(String title, String description) {
textview1.setText(title);
textview2.setText(description);
}
}
{
10. Save and run the project.
Share intent filter
ReplyDeleteYou are also here
DeleteHi, how to make multiple onclicklistener more simple?
ReplyDeleteExample=
I have 3 button, to make the button clickable i have to use below code;
Button btn1=(Button) x.findViewById (R.id.btn1) ;
Button btn2=(Button) x.findViewById (R.id.btn2) ;
Button btn3=(Button) x.findViewById (R.id.btn3) ;
btn1.setOnClickListener(new View.OnClickListener () {
@Override public void onClick (View view) {
//effect from the click
}
}
And I have to use the same code for btn2 & btn3.
Is there other way to make the code more simple for the 3 button clickable and working in sketchware?
This comment has been removed by the author.
Delete